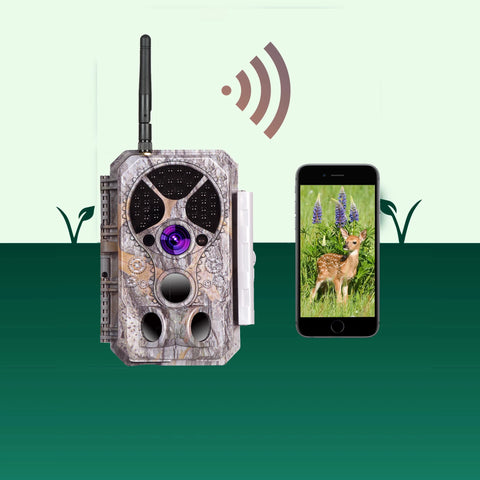
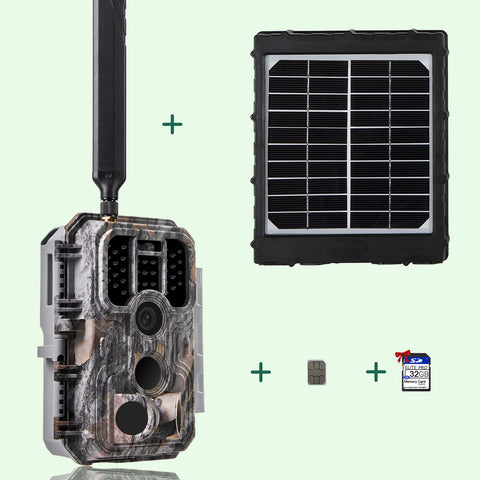
 4G & WIFI
from £85.99
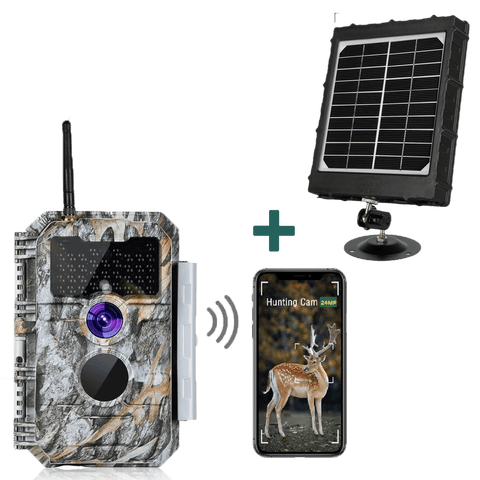
4G & WIFI
from £85.99
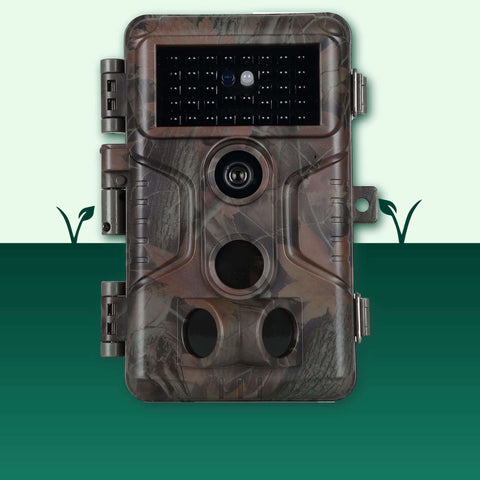 Pro
from £43.99
Pro
from £43.99
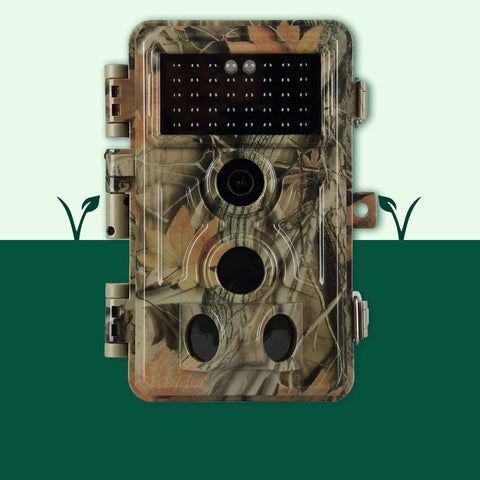 Advanced
from £46.99
Advanced
from £46.99
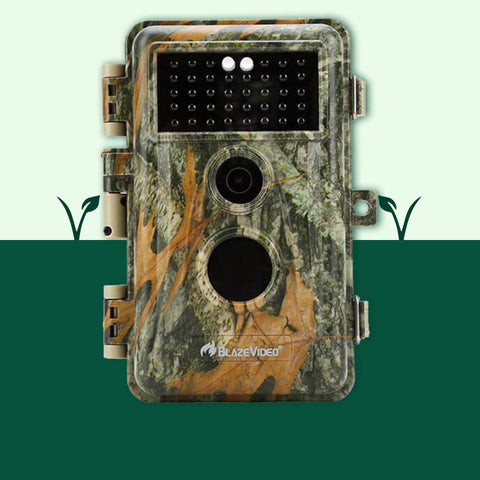 Regular
from
Regular
from


BlazeVideo trail cameras, how does it work?

Increasingly used, trail cameras are true multifunctional tools.
Whether in the wild or at home, here are some tips to optimise your use of these cameras.
What are trail cameras?
Trail cameras, also known as hunting cameras or photo traps, are cameras that can be installed in the wild to monitor the activity of the animals. These trail cameras are very practical when you need to locate a place and identify the movement of the animals.
Trail cameras can be compared to surveillance cameras, however there are a few special features of trail cameras that should be noted
- These cameras are camouflaged and therefore almost invisible to humans and animals alike.
- Trail cameras are only triggered when an object is moving in front of the sensors.
- They can be placed anywhere as they are battery operated or plugged into an electrical outlet.
The uses are varied and more and more people are equipping themselves with this type of camera for several reasons. But what they all have in common is that none of them want to place their trail cameras and come back with missed images or videos.
That's why we're going to give you a few tips on how to make the best use of your trail cameras and get the best possible rendering. We will use our BlazeVideo trail cameras as an example.

What is my trail cameras made of?
First of all, to fully understand the functioning and performance of BlazeVideo trail cameras, you need to look at what they are made of. This will give you an insight into what you can do with these trail cameras. They are simple to use and particularly suitable when you are new to this type of equipment.Outside my trail cameras
In a first step, we will focus on what is visible on the trail cameras, i.e. the outside part, which has several important elements.
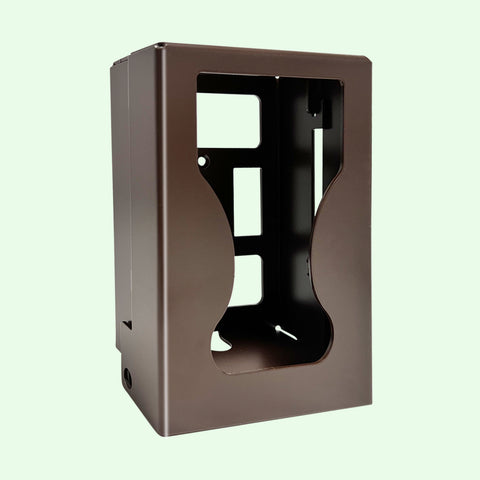
A plastic and silicone housing
The size of the case is 15.5x11.2x5.9cm. The housing of the trail cameras is made of silicone and plastic. The camera has an IP66 protection rating, which means that it is resistant to water jets (6.3 mm nozzle, distance 2.5 m to 3 m, flow rate 12.5 l/min ±5%), and is completely dust-proof. The fasteners and the silicone gasket ensure a very good closure of the housing. This ensures that the images taken by your trail cameras are secure.
The housing is easily dismantled and held in place by cross-head screws. This facilitates its maintenance and cleaning. However, be careful with the hinges when removing your trail cameras, the middle hinge contains the power supply wires. If you wish to maintain your camera, please do so with care.
The 16MP and 1080p sensor

The sensor of the BlazeVideo trail cameras is 16 MP (16 million pixels) F2.0 with a 90° capture angle, which allows for the delivery of High Definition photos and videos. You can set the resolution of photos from 3 to 16MP and the resolution of videos to 480p, 720p at 30fps or 1080p at 25fps. These quality adjustments make it easier for you to process the images from the trail cameras.
The motion detector up to 120°.

The motion detector allows the trail cameras to capture images in 0.5s at detection angles of 65° to 120°. Most BlazeVideo trail cameras are equipped with lateral sensors, which allows the angle of detection to be widened.
Here they are:
https://www.blazevideo.fr/collections/single-trail-camera/products/camera-blazedistance-2020
https://www.blazevideo.fr/collections/single-trail-camera/products/game-trail-deer-camera-with-100ft-night-vision-20mp-photo-1080p-h-264-mp4-video-motion-activated-0-1s-trigger-speed-no-glow-ip66-waterproof
https://www.blazevideo.fr/collections/single-trail-camera/products/camera-blazedistance
The 38 infrared LEDs

The camera consists of a total of 40 LEDs, with 38 Infrared LEDs.
The infrared LEDs allow you to take photos and videos in night vision up to 20m for these models:
- https://www.blazevideo.fr/collections/single-trail-camera/products/camera-blazedistance-2020
- https://www.blazevideo.fr/collections/single-trail-camera/products/16mp-1080p-0-6s-trigger-motion-activated-hd-game-trail-hunting-deer-wildlife-cam-no-glow-infrared-65ft-night-version-ip66-waterproof
- https://www.blazevideo.fr/collections/single-trail-camera/products/trail-wildlife-hunting-camera-16mp-1080p-no-glow-waterproof-ip66-with-night-vision
- https://www.blazevideo.fr/collections/single-trail-camera/products/game-trail-wildlife-deer-camera-16mp-1080p-ip66-waterproof-night-vision
- https://www.blazevideo.fr/collections/single-trail-camera/products/blazevideo-16mp-1080p-game-trail-wildlife-deer-hunting-camera-no-flash
- https://www.blazevideo.fr/collections/single-trail-camera/products/blazevideo-2-pack-game-trail-deer-cameras-16mp-1920x1080p-video-no-glow-infrared-2-4-lcd-camo-wildlife-hunting-65ft-night-vision-pir-motion-activated-sensor-ip66-waterproof
- https://www.blazevideo.fr/collections/single-trail-camera/products/camera-blazedistance
up to 30m for this model :
- https://www.blazevideo.fr/collections/single-trail-camera/products/game-trail-deer-camera-with-100ft-night-vision-20mp-photo-1080p-h-264-mp4-video-motion-activated-0-1s-trigger-speed-no-glow-ip66-waterproof
The 97cm strap
The strap measures 97 cm and allows the trail camera to be attached around trees. Be sure to tighten it tight enough to ensure that the camera is held securely over time, while taking care not to damage the housing.
Inside my trail cameras
The control buttons

The BlazeVideo trail cameras are equipped with several buttons to control the camera. Operation is very simple with the four navigation buttons as well as the OK and MENU button.
Finally, the ON/OFF/SET button can be used to switch on, switch off or access the settings of the trail cameras.
These plastic buttons provide durability over time and the assurance of being able to control your trail cameras in all circumstances.
The display

The BlazeVideo trail cameras' screen is a 2.4" TFT screen with a diagonal of about 5cm, which allows you to access the images directly when the trail cameras are raised. This means that you don't have to wait until you get home to get a first glimpse of the images taken by your trail cameras.
The different ports of my trail cameras
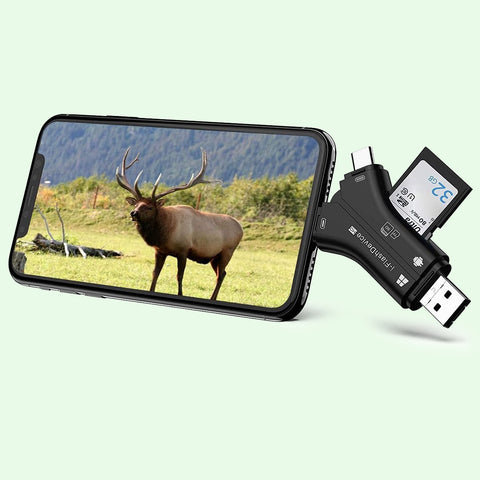
The SD card port
The SD card port allows not only SD cards, but also SDHC or SDXC. It is possible to mount up to 128GB depending on the camera. However, 32GB is more than enough for a full 2 weeks, as the duration of the videos is often short and therefore they take up little memory in the trail cameras.
The DC charging port
The DC charging port is useful when you want to use the camera without the batteries next to a mains socket with a universal charger. This can be useful when you want to use your trail cameras as a surveillance camera in your home.
The universal DC charger
If this is the case, we recommend using a DC charger with a 6V and 2A (or 2000mA) input.
AA batteries

As far as batteries are concerned, we recommend you use 8 AA batteries which will allow you to reach up to 6 months of standby time. You can also use 4 AA batteries for less standby time or use rechargeable batteries.
The UNC tripod screw

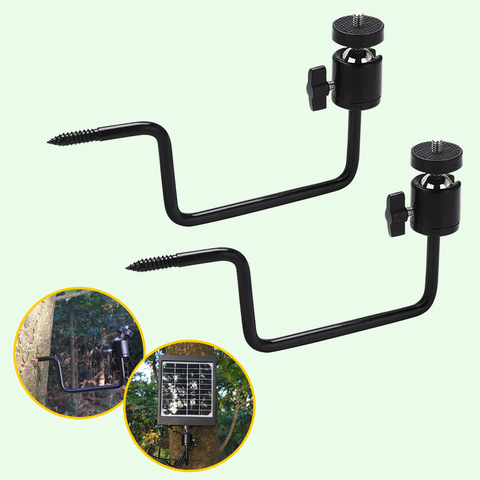
A tripod screw on the bottom of the camera housing can be identified. This is a ¼ inch screw type UNC (Unified National Coarse) which is the American standard, i.e. with a thread pitch angle of 60° instead of 55°, but with a thread spacing almost identical to the BSW (British Standard Whitworth) which is regularly used in photography. The use of the tripod allows you to have a stabilised image, if you cannot attach the trail cameras to a tree with the strap supplied with the BlazeVideo camera. This can happen when you use the camera to monitor your garden or house, by placing it on a roof or wall.
How do I use my trail cameras?
We are going to give you a few tips to help you use the full potential of Blaze Video cameras.
Installing my trail cameras
Positioning my trail cameras correctly

First of all, it is important to define the precise location(s) where you want to film and make sure you target this location with the trail cameras.
If you want to film animals, don't hesitate to be clever and make sure to attract them with bait such as food or scented products.
Also make sure that the environment is adapted to the limits of the trail cameras as indicated in the instructions.
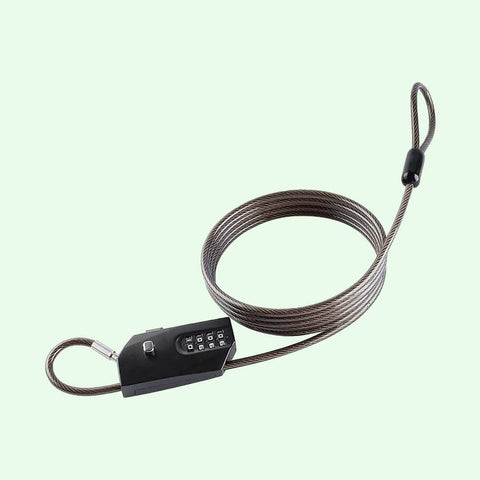
If you wish you can put a lock to prevent someone else from opening the trail cameras, and you can also put a 4-digit password.
Pay attention to the inclination of the trail cameras. Make sure that the camera is tilted straight or slightly towards the ground to prevent water droplets from being deposited on the lens in case of rain.
You should also find and save the place where you have left your camera so that you can easily find it again later. Don't hesitate to take pictures of the place, or place a stick at this place if you don't know it.
If you place your camera in a dense forest, make sure you follow these tips.

Attach my trail camera
Using the strap supplied with the camera, make sure you tighten the trail camera tightly around a tree or pole if you have one available. If not, try to place it on a stable place so that it does not move, even in bad weather. For example, don't hesitate to use a flexible tripod. In both cases, make sure that the trail cameras are pointed towards the target.
Setting my trail cameras
You can set the trail cameras in different ways. The settings are different depending on how long you want to leave the camera in place, how much memory you have on your SD card and how long the batteries last. Please check the following settings:
- The definition of photos and videos (see the section on the sensor)
- The number of photos taken per target: you can set from 1 to 3 photos per target for up to 1.5 seconds.
- The duration of the videos taken by target: you can set the duration of the videos from 3 to 30 seconds.
- You can also program the time slots you want, to help you save time.
Test the position of my trail cameras
Once in position, don't hesitate to make several attempts with your trail cameras before leaving, to make sure they are well positioned.
When you install your camera on snow-covered or clear ground, we recommend that you put a black filter on the trail camera's LEDs to limit the effect of overexposure (to prevent the photos from being too white) at night.
Leave my trail camera on the spot
Thanks to its motion detector, the camera detects any presence in front of the sensor at angles ranging from 65° to 120°. You can leave your camera for as long as your batteries last. If the batteries run down, the images will remain stored on the SD card. If you have the opportunity, do not hesitate to check that everything is OK.
Retrieving my trail cameras
It's now several days or weeks since you installed your trail cameras, and you're leaving to retrieve them. How do you proceed?
How do I retrieve my trail cameras?
Go back to the place where you positioned your camera. This is where it is very important to locate the place upstream because if you are in a dense forest, it will be very difficult for you to find the camera. Type in your password if there is one. If the trail cameras still have autonomy, you will be able to consult the images directly on the spot. When you take the camera home, don't forget to set the button to OFF on the way home, this will help you save the batteries, if any are left.
How can I use the images taken by my trail cameras?
The images are processed directly via the USB port and the cable supplied with the camera. All you have to do is plug the camera into your computer to extract the images from the camera. Here's a professional tip: don't hesitate to empty the SD card of your trail cameras onto your computer or even better, store the images on an external hard drive.
The trail camera takes photos in JPEG format and videos in H264. Both formats are very common and very easy to use. As far as videos are concerned, editing software will allow you to modify the encoding if necessary.
How do I maintain my trail cameras?
Several elements of the trail cameras must be cleaned regularly to ensure optimal performance and durability.
Clean the seal on the housing of my trail cameras.
The main protection of the housing is the sealing gasket, which ensures that the trail cameras are watertight. After long outdoor sessions, it is normal that the gasket does not come out intact. This is why between each session with the trail cameras, it is important to clean the seal of the housing, and why not use an anti-seize product such as WD-40, which will allow it to slide inside the housing.

Checking the condition of the lens and LEDs of my trail cameras
In order to get the best possible rendering, always check that the lens and LEDs of the trail cameras are clean, and if this is not the case, wipe them clean with a cloth. If the conditions require it, with frost or rain for example, you can apply an antifreeze product against frost, or a water-repellent product to prevent the raindrops from remaining on the lens.